

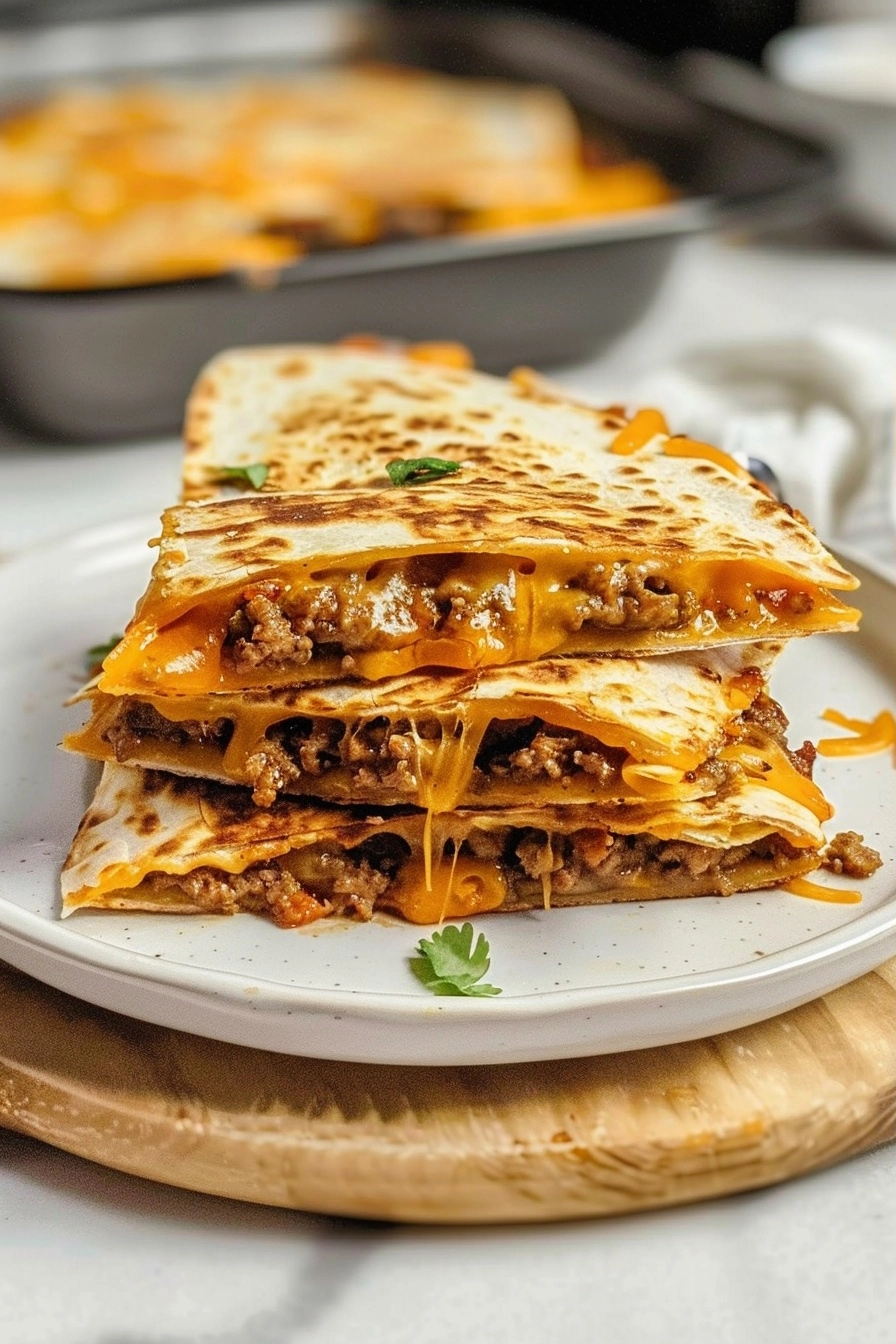
20 Minutes Cheesy Ground Beef Quesadillas are a delicious and satisfying meal option perfect for busy weeknights. These quesadillas are filled with seasoned ground beef and melted cheese, all wrapped in a golden, crispy tortilla. They come together quickly, making them the ideal dish for any occasion.
Table of Contents
Table of Contents
Why You’ll Love This 20 Minutes Cheesy Ground Beef Quesadillas
These quesadillas are not just quick to prepare; they’re bursting with flavor. The combination of savory ground beef, gooey cheese, and perfectly toasted tortillas creates a delightful crunch with every bite. Each quesadilla feels like a warm hug on a plate, making them a comfort food favorite.
The recipe is incredibly simple, meaning you can whip them up without prior cooking experience. In just twenty minutes, you can have a hot, delectable meal ready for your family or guests. Plus, they’re versatile enough to be served as an appetizer, lunch, or dinner.
Fresh ingredients shine in this recipe, with each component working together in delicious harmony. You can customize them with different toppings, making it a fun meal where everyone can personalize their quesadilla to their liking.
Lastly, these cheesy quesadillas make excellent leftovers. Whether packed for lunch or reheated for a snack, the flavor and texture hold up wonderfully, ensuring you enjoy every last bite.
Ingredients of the 20 Minutes Cheesy Ground Beef Quesadillas
For the Quesadilla
- 1 lb ground beef
- 1 cup shredded cheese (cheddar or Monterey Jack)
- 4 large flour tortillas
- 1 tablespoon olive oil
- 1 teaspoon chili powder
- 1 teaspoon cumin
- 1/2 teaspoon garlic powder
- Salt and pepper to taste
Optional Fillings
- 1/2 cup diced bell peppers
- 1/2 cup chopped onions
- Salsa, for serving
- Guacamole, for serving
- Sour cream, for serving
Equipment / Tools Needed
- Skillet
- Spatula
- Large plate
- Knife
- Cutting board
- Measuring spoons
Step-by-Step Instructions
Step 1: Prepare the Ingredients
Begin by gathering all ingredients. Dice any additional vegetables you might want to include, such as bell peppers and onions. This ensures everything is within reach as you cook and makes the process smooth and quick.
Step 2: Cook the Ground Beef
In a skillet over medium heat, add the olive oil and then the ground beef. Break the beef apart with a spatula, cooking until browned and no longer pink. This usually takes about 5-7 minutes. As it cooks, use the smell of the beef to gauge doneness – it will smell rich and savory when ready.
Step 3: Season the Beef
Once the beef is cooked thoroughly, add chili powder, cumin, garlic powder, salt, and pepper. Stir the spices into the meat, ensuring they are evenly distributed. The aromas will transform, creating a mouthwatering scent that fills the kitchen.
Step 4: Assemble the Quesadillas
On a large plate, layer half of a tortilla with a generous scoop of the seasoned ground beef and sprinkle cheese on top. If using optional fillings, add them now. Fold the tortilla in half, creating a classic quesadilla shape.
Step 5: Cook the Quesadillas
Place the assembled quesadilla in the skillet over medium heat. Cook for about 2-3 minutes on each side or until the tortillas are golden and crispy, and the cheese has melted. You can gently press down on the quesadilla with the spatula for even cooking.
Step 6: Repeat the Process
Repeat the assembly and cooking process with the remaining tortillas and filling. You can also keep the cooked quesadillas warm in a low oven while completing the batch. Each one you make will smell enticing.
Step 7: Slice and Serve
Once all quesadillas are cooked, remove them from the skillet and place them on a cutting board. Cut each quesadilla into wedges. The cheese will stretch invitingly as you cut through them. Serve hot with salsa, guacamole, or sour cream on the side.

Tips & Tricks
- For extra flavor, try mixing different kinds of cheese, such as pepper jack for a kick.
- If you prefer chunky fillings, ensure they are cooked beforehand to avoid soggy tortillas.
- Consider cooking the quesadillas on lower heat to avoid burning while ensuring the insides are hot and cheesy.
Serving Suggestions
These quesadillas pair beautifully with a fresh salad or a side of rice. For a hearty meal, serve alongside a bowl of tortilla soup or spicy black beans. They also make great appetizers for parties and game days, where guests can create their stacks of toppings!
In the warmer months, try serving with a fresh mango salsa for a refreshing twist. In cooler seasons, comfort it up with a warming spicy tomato or chili sauce.
Variations / Substitutions
If you’re looking to substitute ground beef, consider using ground chicken or turkey for a leaner option. You could also switch out meat for black beans or lentils for a vegetarian version without sacrificing flavor.
Feel free to experiment with different cheeses, such as gouda or feta, for unique flavor profiles. Additionally, try adding herbs like cilantro or parsley for a fresh twist.
Storage and Reheating
Store any leftover quesadillas in an airtight container in the refrigerator for up to 3 days. For freezing, wrap each quesadilla tightly in foil and place them in a freezer bag. They can last for up to 2 months in the freezer.
When ready to enjoy leftovers, the best reheating method is to place them back in a skillet over low heat. This will maintain their crispy texture while heating them through. Alternatively, you can reheat them in the oven wrapped in foil for about 10-15 minutes at 350°F.
Nutritional Info
Calories: 350 kcal
Protein: 20g
Carbohydrates: 30g
Fat: 18g
Conclusion
The 20 Minutes Cheesy Ground Beef Quesadillas offer a satisfying balance of crispy tortillas and gooey cheese topped with perfectly seasoned beef. This dish will fill your home with warmth and is an excellent option for a busy weekday meal or cozy get-togethers. With a quick preparation time and endless serving possibilities, it’s a recipe you’ll turn to again and again.
Get creative with fillings and toppings, and make this recipe your own. Your taste buds will thank you for it!
FAQ
How should I store leftover quesadillas?
Leftover quesadillas should be stored in an airtight container in the refrigerator and can last for up to 3 days. For longer storage, consider freezing them.
Can I substitute ground beef?
Yes! Ground turkey, chicken, or even plant-based meat alternatives are excellent substitutes for ground beef while still maintaining flavor and texture.
What are good sides to serve with quesadillas?
Great side dishes include fresh salads, black beans, or tortilla soup. These pair well with the flavors of the quesadillas and add variety to your meal.
Can I make quesadillas ahead of time?
Yes, you can prepare the filling in advance and assemble the quesadillas when ready to cook. This will save you time during busy weekdays.
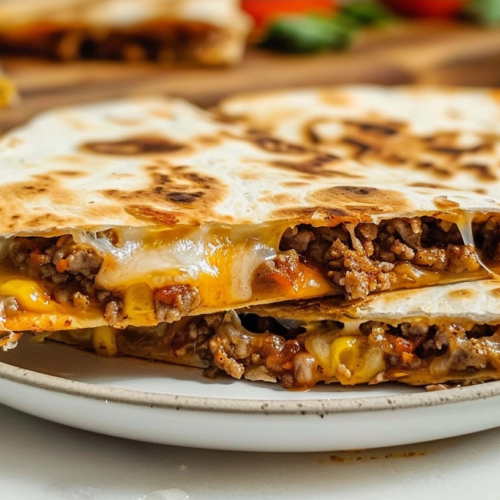
20 Minutes Cheesy Ground Beef Quesadillas
Ingredients
- 1 lb ground beef
- 1 cup shredded cheddar or Monterey Jack cheese
- 4 large flour tortillas
- 1 tablespoon olive oil
- 1 teaspoon chili powder
- 1 teaspoon cumin
- 1/2 teaspoon garlic powder
- Salt and pepper to taste
- Optional: 1/2 cup diced bell peppers
- Optional: 1/2 cup chopped onions
- Salsa (optional)
- Guacamole (optional)
- Sour cream (optional)
Instructions
- Gather ingredients and dice optional vegetables
- Heat skillet, add olive oil and cook ground beef until browned (5-7 minutes)
- Season beef with chili powder, cumin, garlic powder, salt, and pepper
- Spread 1/4 cup seasoned beef over each tortilla
- Top each with 1/4 cup cheese and optional vegetables
- Fold tortillas in half, cooking 1-2 minutes per side until golden and crispy
- Let rest 1-2 minutes before slicing and serving
Notes
Substitute vegetable oil for olive oil if preferred
Pre-cook and cool remaining ingredients beforehand for faster assembly
Store leftovers in airtight containers up to 3 days